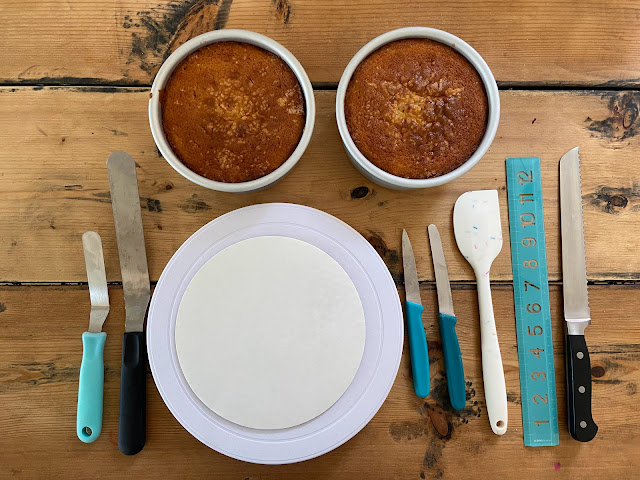
Ready!
With my cake baked and cooled overnight, and my icing almost ready (it was taking a long time so it was still mixing in my stand mixer in the background) it was finally time to start decorating.
Step 1: Levelling
I have attempted to level a cake before but not using any particular method other than eyeballing it. I can confirm that eyeballing is does not really work. This step is a large part of why I wanted to take this course in the first place. This method had me use a ruler to mark around the cake and then gradually cut deeper and deeper while spinning the turntable. The directions were clear and it worked really well! My first attempt wasn't perfect but the second cake went even better so I am sure with practice, if I continue to use this method I will get better and better.
Step 2: Layers
I didn't have the right size cake pan so instead of making one larger cake and making a two-layer cake, I made two smaller cakes and planned to make a four-layer cake. While tiny, this is a lot more work, not so much at the layering stage but definitely more work in Step 3. The method for layering is similar to the method used for levelling and it worked really well. The video was very helpful in describing what to do.
Step 3: Removing the Caramelization
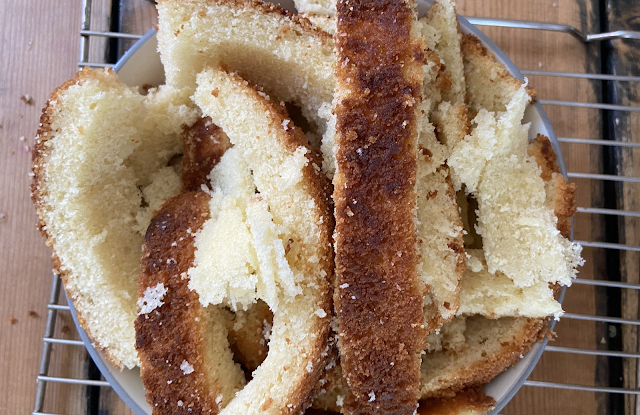
This was by far the most disastrous part of the whole process. The instructions were not great and I definitely shouldn't have attempted to do all 4 layers at once. What a mess. The outcome was okay but really I wasted so much cake and my 6" cake turned into about a 4-inch cake. The diameter was now ridiculously small for such a tall cake. While the inside looked nice and clean because I did this step, I almost wished I had just skipped it altogether. Next time I will be much more careful when I attempt this. The video went through this step very fast and in my opinion, did not adequately prepare me, I kept having to go back and shave off more and more to get it even.
Look at all that waste - I definitely trimmed off way too much (don't worry too much though, my kids were still happy to eat it).
Step 4: Crumb coat
Again, a step in the past that I have done kind of just winging it. There isn't much more to this step than my self-taught method had already figured out, however there were some helpful tips on knowing when my crumb coat layer was fully chilled and ready for the final icing. I had a few extra challenges in this stage to make up for my not so great job trimming off the caramelization in the previous step.
Step 5: Icing
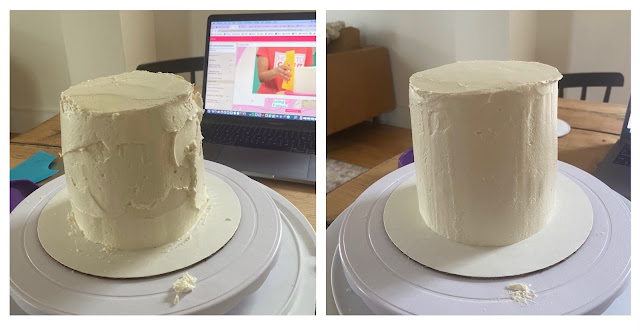
This next step definitely took me much longer than it should have and I will admit I was running out of time before I had to get my kids organized for dinner (they were now home from school and eyeing my cake). The video explains using my bench scraped to smooth the icing while spinning my turntable, I had so many issues with this and after trying to ages I just had to call it a day and decide my icing was good enough. It's definitely smoother than previous cakes but it still isn't that perfectly smooth bakery finish that I had been hoping for. I think this step really comes down to practice, no tutorial in the world could get this perfect in just one shot so I am hopeful that my next time will be even more successful. If I had an extra hour or two I would have chilled my cake again and added more icing to try and get it smoother.


Comments
Post a Comment